Shark vacuum cleaners are a blessing for all cleaning enthusiasts. However, since they’re also machines, they are bound to experience occasional breakdowns like Shark vacuum motor can also die. It can occur when we make them go through a certain amount of work.
In this article, I’ll be showing you how you can reset a dead motor on your vacuum cleaner.
Shark Vacuum Motor Died
Shark is one of the strongest names in the vacuum industry and quite rightly, due to its impeccable performance and efficiency. However, Shark vacuum cleaners also require maintenance as they too can get tired after a hectic day of providing us service!
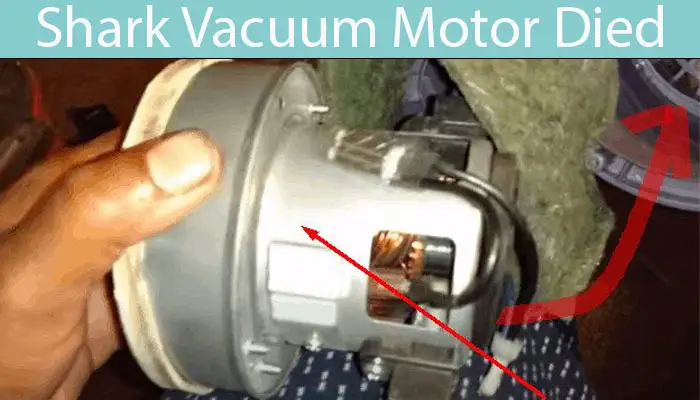
In any electrical appliance, a motor is one of the most important components as it is subjected to work, being responsible for the entire working of the appliance. The same is the case for your Shark vacuum.
However, if the motor in your Shark vacuum stops working, then the possible case may be that it has died. In such cases, the viable option for you would be to get your vacuum cleaner checked by an expert.
If the problem is fixable, you’re lucky! However, if that’s not the case, the most logical solution would be to replace the motor with a new one when the older one has died.
Read more below to get an insight on how to replace a motor on your Shark vacuum if the current motor has died.
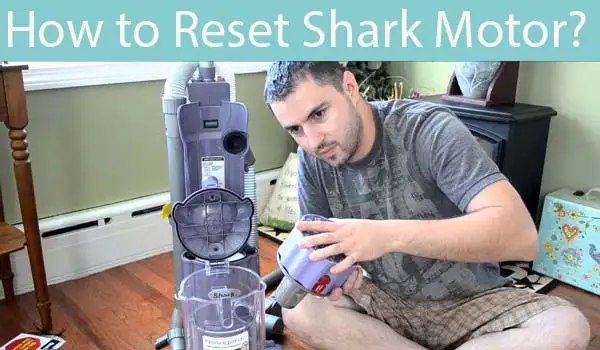
Shark Vacuum Motor Reset
In some cases, the motor in your Shark vacuum will cease to work due to several reasons. However, you can fix this issue by simply resetting the motor on your Shark vacuum cleaner.
Following are some steps you can use to reset the motor:
- Power off your Shark vacuum cleaner
- Disconnect your Shark vacuum cleaner from its power outlet
- Disassemble your vacuum cleaner and take out the hose and filters.
- Inspect both components for any blockages or dust buildups thoroughly.
- Suppose there’s dust or blockage present in your vacuum’s hose. In that case, you can eliminate it by using a hard material similar to a rod, after which you can run the hose through the water to eliminate microparticles.
- In case of dust build-ups in the filter, you’ll have to thoroughly clean them under cold water, and let them dry.
- Both the parts should be left out to dry properly, before reattaching them to their respective positions on your vacuum cleaner.
- Let your Shark vacuum cleaner cool down, particularly for about 45 minutes to an hour.
- There you go! You have successfully reset the motor on your Shark vacuum.
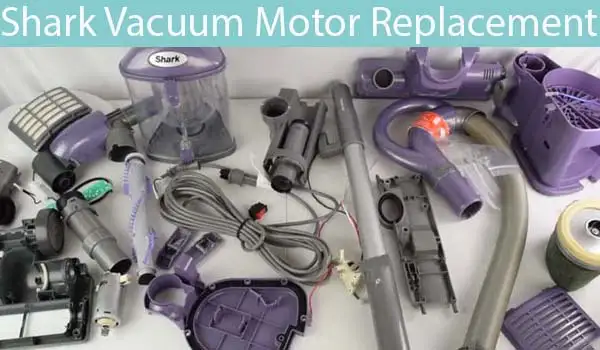
Shark Vacuum Motor Replacement Parts
If your vacuum cleaner’s motor is faulty then the viable option is to replace the motor with a new one.
Requirements
- TR10 Torx Security Screwdriver
- T20 Torx Screwdriver Bit
- Crimping tool
- Wire Cap
Shark Vacuum Motor Replacement – Step by Step Guide
The following steps apply Shark Vacuum’s Duo Clean model. However, before diving into the actual process, there are some external components of the vacuum cleaner which you must remove first. Let’s take a look at them!
Hose
To detach the hose from your vacuum cleaner, you’ll have to click on the “Release Hose” button located at the end of the hose attached to the vacuum cleaner.
Wand
To remove the wand, press the “Release Wand” button present on the front of your vacuum cleaner, after which you’ll have to pull the wand upwards.
Top Casing
At the top of your vacuum cleaner, you’ll find a white button titled “Lift Away”, click on that button to remove the top casing of your Shark vacuum, with its bottom half.
Brushes
Locate the brush pieces on the back side(grey) of your vacuum cleaner, when vacuum cleaner is in the upright position your Roller Brush can Start and Stop by Itself. Pull up on them to separate them from your vacuum cleaner.
Dustbin
Click on the button located at the side of the Dustbin handle and pull it upwards. This will separate the filters from your Shark vacuum cleaner.
Foam Filter
After you’ve removed the dust bin, you’ll see your vacuum cleaner’s filter foam located at the bottom. Pull the reddish tab upwards for the removal of the foam filter.
Pull up on the small orange-colored tab that you’ll see after removing the foam filter.
Motor
- To detach the old motor, you’ll first have to remove all the screws located on the front side (red).
- All six screws located at the front side require a T20 screwdriver for their removal.
- On the back side, to remove the three 15mm screws located at the bottom, you’ll again have to use your T20 Screwdriver.
- To remove the single 17mm screw located on the top left of the back side, you’ll have to use a T10 Screwdriver.
- At the bottom of your vacuum cleaner, you’ll find four 14mm screws. To remove them, use a T20 Screwdriver. By their removal, the grey chamber will detach.
- With the help of a metal spudger, remove the back panel. However, be cautious while attempting this as too much force can result in the breakage of the plastics.
- At the front side, remove the six 12mm screws located inside the hollow compartment. Use a T20 Screwdriver to do so.
- On the front side, there’ll be a single 14mm screw which you’ll have to remove with a T20 Screwdriver.
- Now you’ll have to wiggle the motor a few times to remove it due to the wiring. Use a wire cutter to cut the black and white wires located on the back side of the motor to remove them completely.
Looking for a motor replacement? Hop on to Amazon to get efficient motors at decent prices.
Conclusion
Shark vacuums offer nothing but comfort, performance, and efficiency to their consumers, making them one of the biggest names in the vacuum industry currently.
However, due to some factors, the normal working of the appliance may get affected. Well, you’ve found yourself at the right place because we are going to provide you with the solution to fix a died Shark vacuum motor.

Hi Everyone.
I’m Safeer. I always loved trying out the latest cleaning and home products and sharing my thoughts about those products with you awesome people. Whether it’s related to general cleaning or it includes cleaning with high-tech vacuum cleaners, I always test them myself and then share valuable opinions with you. Additionally, I also let you know how to resolve particular issues of vacuum cleaners. To look for detailed reviews and troubleshooting tips about vacuum cleaners VaccumCleanersMag is the perfect abode for you.