Dyson vacuum cleaners provide not only performance but convenience as well, making your cleaning experience headache-free. However, in some cases, even though your Dyson V6 is fully charged, it won’t run.
The root cause of this problem usually lies in your vacuum cleaner’s battery, due to which, many users opt to reset the battery on their Dyson V6.
Continue reading the below discussion to reset your Dyson V6 model’s battery, and make it work like before again!
Dyson V6 – How to Reset Battery?
The “battery reset method” is mainly used when your vacuum cleaner denies functioning even with a charged battery.
To reset the battery of your Dyson V6, follow the steps given below:
- Unplug the charger of your Dyson from the power outlet or wall.
- Plug in the charger back again.
- Put your charging wire in your Dyson’s charging port.
- Pull the vacuum cleaner’s trigger, even if it doesn’t respond to it. You will have to hold the trigger for 20-25 seconds.
- After 20-25 seconds, release the trigger and remove the charger from your Dyson V6. Voila! You have successfully reset your Dyson’s battery.
Continue using your Dyson V6 as you normally do, after following the steps given above.
Also Read: Techniques to Install Dyson v6, v7, v8 to wall
Dyson V6 – Battery BMS Reset
The BMS of your Dyson’s battery is an extremely important component, which is almost always overlooked.
To reset the battery BMS of your Dyson V6 model, you’ll sometimes have to charge your cleaner through the discharge cables for a couple of seconds to thrush it back into its “normal” mode.
Dyson V7 Battery Life
The upgraded model of the Dyson V6 vacuum is the Dyson V7, which naturally, provides you with better performance and is more efficient.
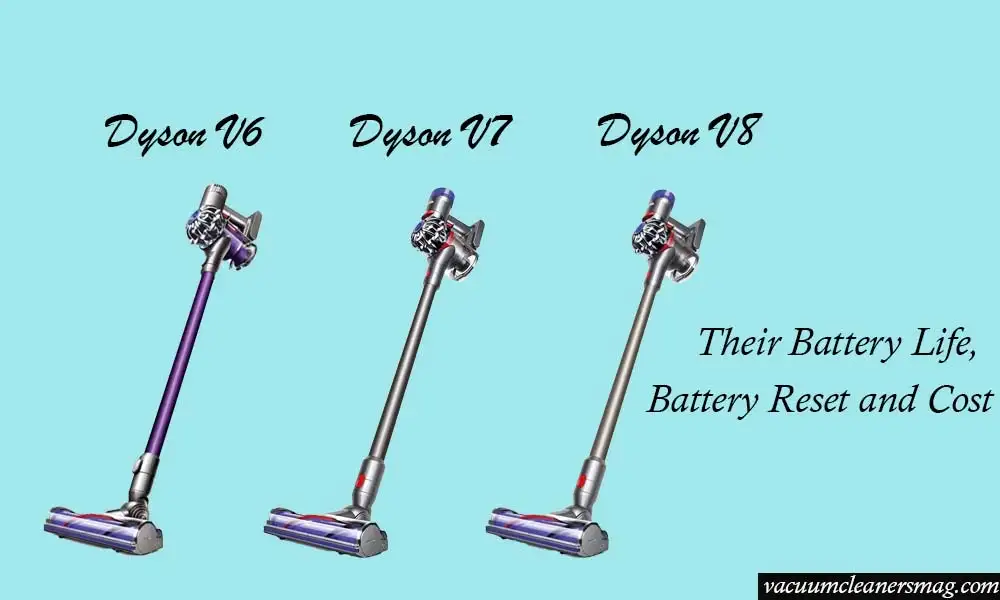
However, there’s a million-dollar question: How long does the Dyson V7 model’s battery last, in contrast to the Dyson V6 and Dyson V8?
Well, along with performance, the Dyson V7 comes with improved battery life as well, with a capacity of 4,600 mAH and a larger cell, as compared to the previous model V6.
If you’re using your Dyson V7 models in “powerful” mode, then the battery will last up to 30 minutes, which is 10 minutes more than the previous model.
Dyson models also have a “Max” mode, which fully powers up the vacuum cleaner’s motor, giving you maximum performance. In this case, your Dyson V7 will last up to 7 minutes.
Therefore, this mode should only be used for areas that are relatively harder to clean, such as carpets.
The charging time of the Dyson V7 models from empty to saturated is around 3hrs 30mins.
Dyson V7 – Battery Replacement Cost
Before we dig deeper, and find the best replacement battery for you, under the best price, I’d like to clear a common misconception among Dyson users.
Quick Tip
If your Dyson model’s battery has worn off and has become disposable, that doesn’t mean that the whole vacuum cleaner has, in turn, become disposable. You can always replace the batteries, and make your vacuum cleaner work like before again!
Dyson V7 – Battery Recommendations
In today’s market, there are loads of third-party companies and manufacturers, which are offering you a battery replacement for your Dyson V7. However, it is recommended by Dyson to buy a replacement battery pack from them, as they offer original batteries.
This seems like the only logical option, but Dyson batteries are expensive as well. One original battery that Dyson offers is almost equal to 3-4 replacement batteries. So, if your Dyson V7 is currently under warranty, then do go for the original batteries.
But here comes the climax: some replacement batteries have higher ratings and recommendations than the batteries Dyson offers! Not only that, but being a third party, they’re lower in cost as well.
Bear in mind that when you’re looking for a third-party replacement battery, there are some which require bolts and tools as well. So, before deciding which one to go for, browse about the tools which you would be needing as well.
Below is a list of the third-party batteries that can be your savior as a replacement battery:
- PowerExtra 4000 mAh Battery.
- KKU Upgraded 4000 mAh Battery.
- Kunlun 4000 mAh Battery.
- Flylinktech 4000 mAh Battery.
The above-mentioned batteries are easily available on Amazon.
Dyson V8 – Battery Reset
The successor to the Dyson V7 models is the Dyson V8. Here is the step-by-step guide to resetting your Dyson V8 model’s battery:
- Unplug the charger of your Dyson from the power outlet or wall.
- Plug in the charger back again.
- Put your charging wire in your Dyson’s charging port.
- Pull the vacuum cleaner’s trigger, even if it doesn’t respond to it. You will have to hold the trigger for 20-25 seconds.
- After 20-25 seconds, release the trigger and remove the charger from your Dyson V8. Voila! You have successfully reset your Dyson’s battery.
Dyson V8 – Light Indications
If you’re new to Dyson, here are a few light indications that will help you out:
- A flashing blue light is your Dyson V8’s way of telling you that it needs to be charged.
- If a red and blue light is flashing together, then that means that there’s a problem causing your appliance to not charge accurately.
- A red light is your V8’s way of telling you it’s not charging.
Dyson V6, V7, V8 – Battery Care
Here are some quick tips that will have you prolong your Dyson’s battery life and get the most out of it:
- Give your vacuum cleaner time to rest during usage.
- Avoid the usage of your Dyson vacuum cleaner under extreme conditions.
- Store your Dyson model in an area that has moderate or room temperature.
- Avoid the usage of “high power mode”. Using your vacuum cleaner under normal settings helps extend its battery life.
Conclusion
The above discussion will help you gain insight into Dyson V6’s battery reset and other issues related to Dyson V7 and V8’s battery issues.
You can troubleshoot these problems while putting in little effort, all you have to do is follow the step-by-step guide I mentioned above!

Hi Everyone.
I’m Safeer. I always loved trying out the latest cleaning and home products and sharing my thoughts about those products with you awesome people. Whether it’s related to general cleaning or it includes cleaning with high-tech vacuum cleaners, I always test them myself and then share valuable opinions with you. Additionally, I also let you know how to resolve particular issues of vacuum cleaners. To look for detailed reviews and troubleshooting tips about vacuum cleaners VaccumCleanersMag is the perfect abode for you.